Deconstruction: Blocklifting from the Blocklift
28 October 2011
As mentioned in the previous post, the only way to advance the study of this large blocklift was to take x-rays of the excavated ‘features’, in order to get a better idea of the condition of the archaeological metals, and to see if there were objects beneath the ones excavated. For this to happen, the five features had to be separated and lifted in miniature blocklifts.
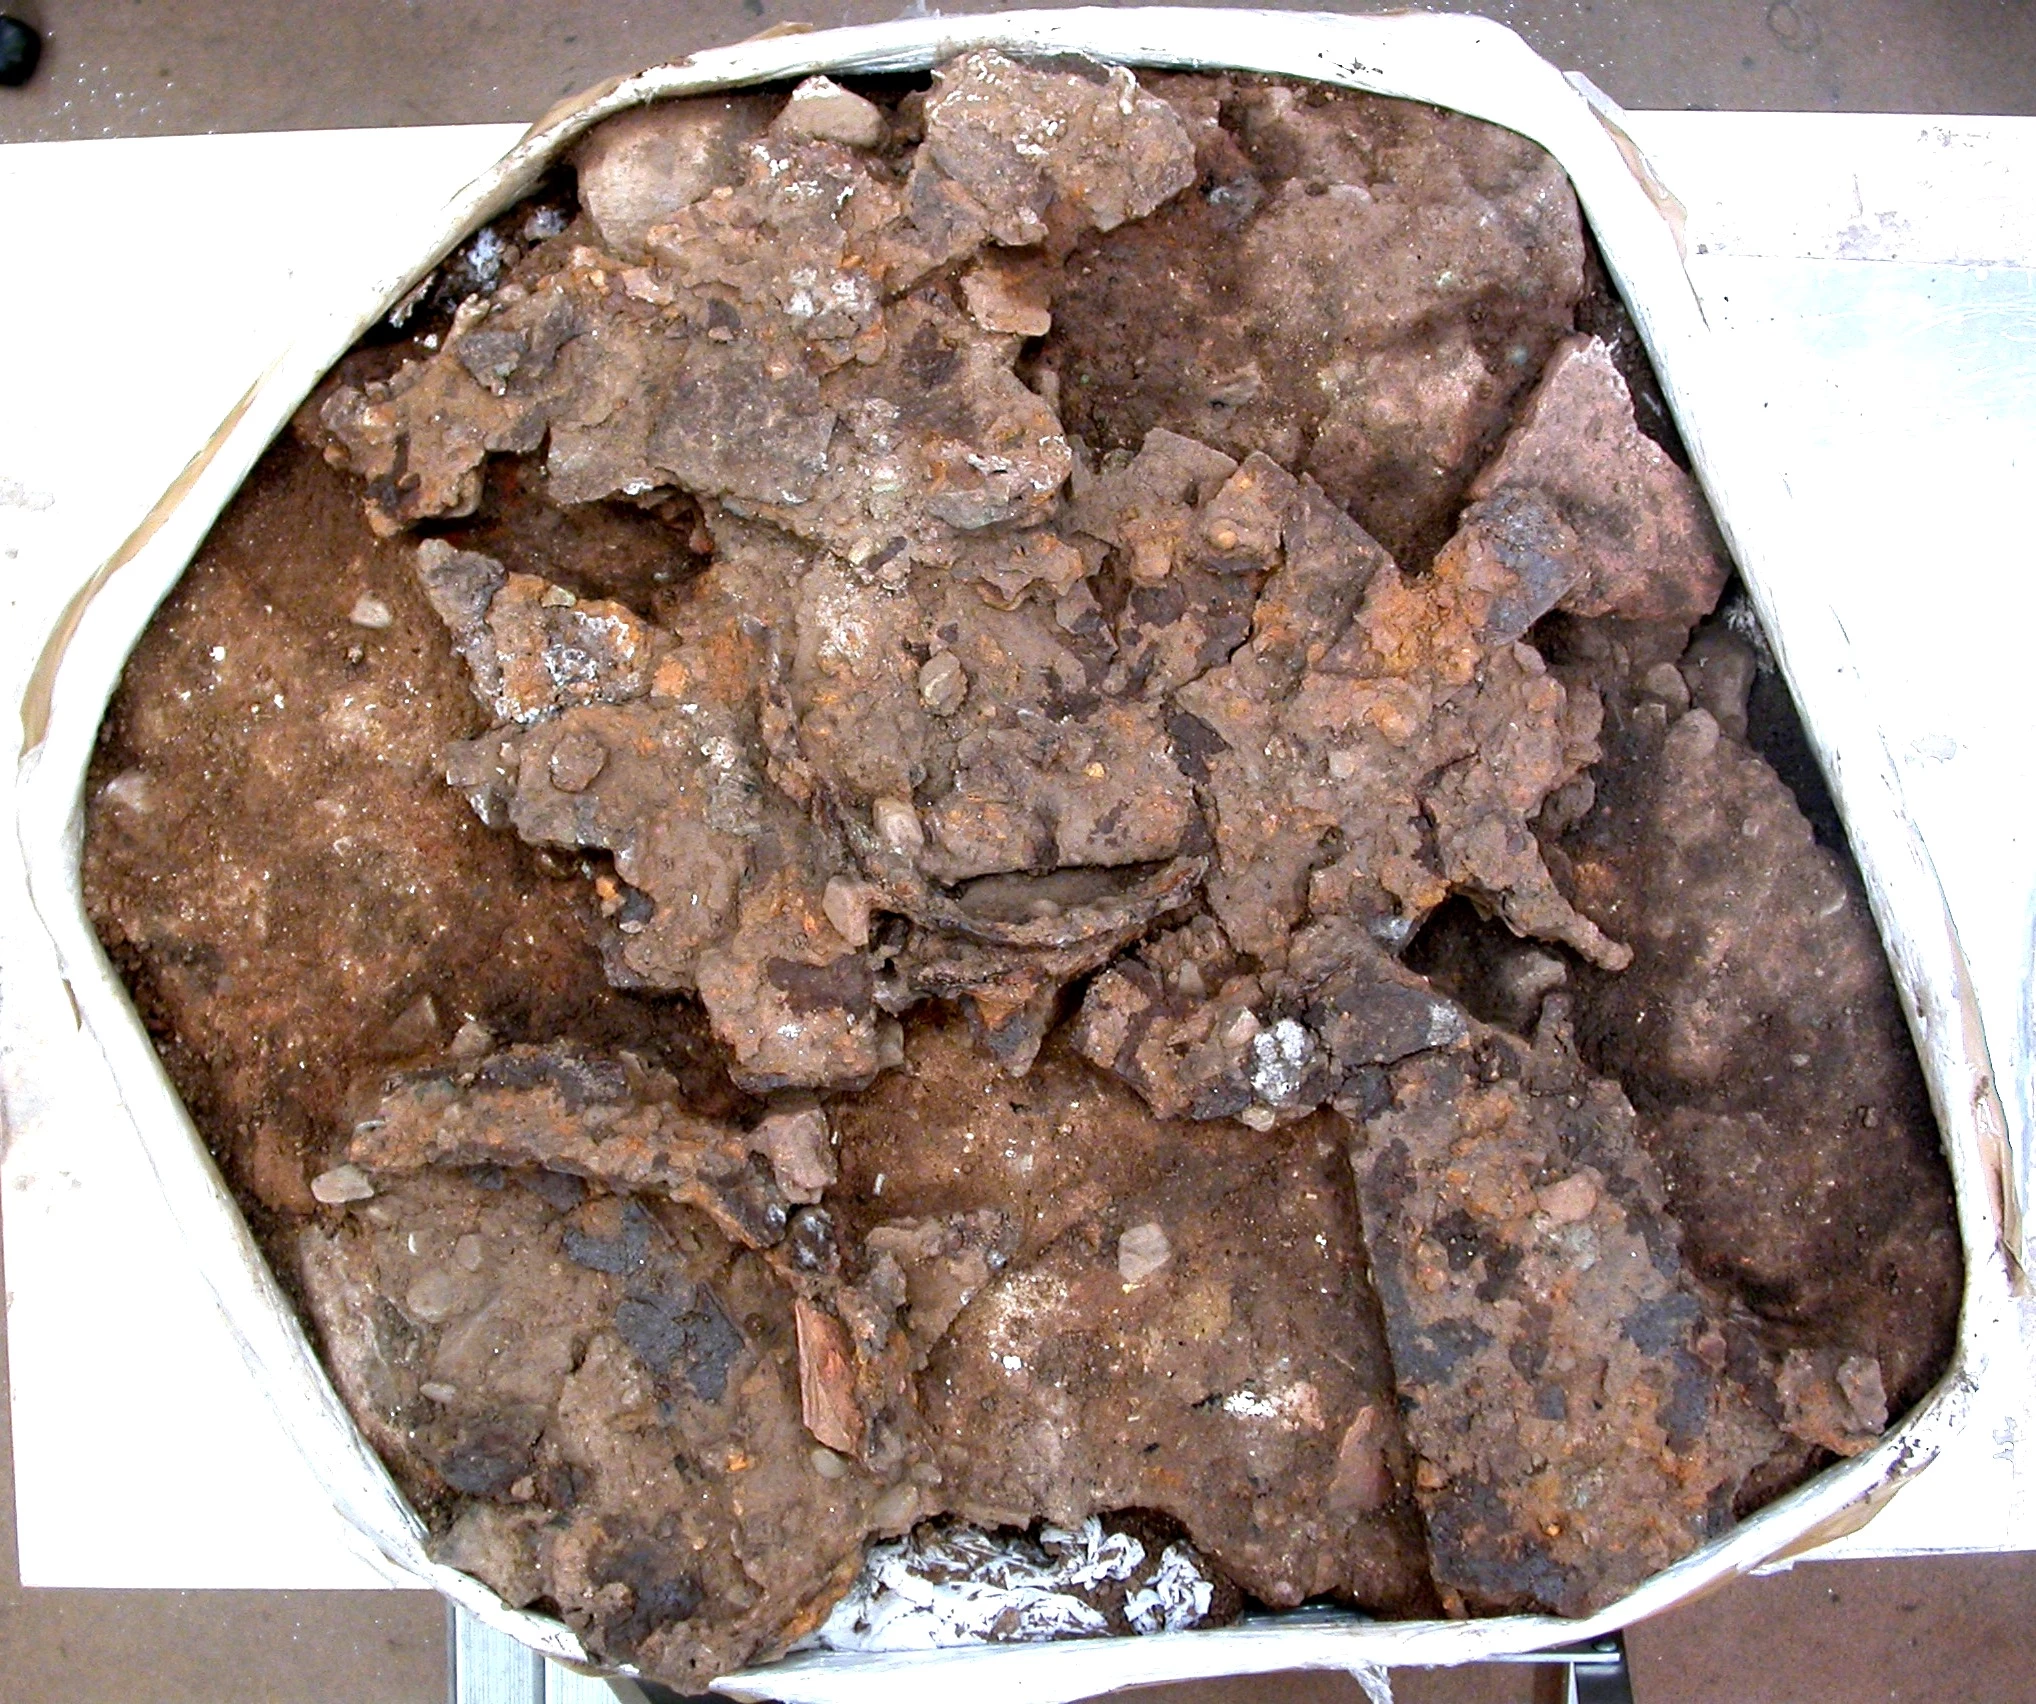
As readers can see by the first photograph which shows the whole soil block after the completion of micro-excavation, separating features was a difficult task: whilst feature 1 was a discrete item, easily removed from the rest of the block, I had to make certain executive decisions about breaking up the rest of the block. Where possible, I tried to divide the features from each other using the cracks that were already present in the block, or by cutting over and under overlapping features. Inevitably, some damage did occur to the peripheries of features during the lifting process.
The process of blocklifting was remarkably easy: effectively, I blocklifted these features in the same way that they were lifted on site, except that as I was working in a laboratory, I had the opportunity to use conservation-grade materials in a much more controlled environment.
To begin with, I had to stabilise the artefacts in preparation for a process which would jar them quite a lot. I first consolidated the exposed artefacts using a removable adhesive called Paraloid B72, and then added a layer of melted wax, called Cyclododecane, to provide a more intimate support. Handily, this layer will eventually sublime by itself.
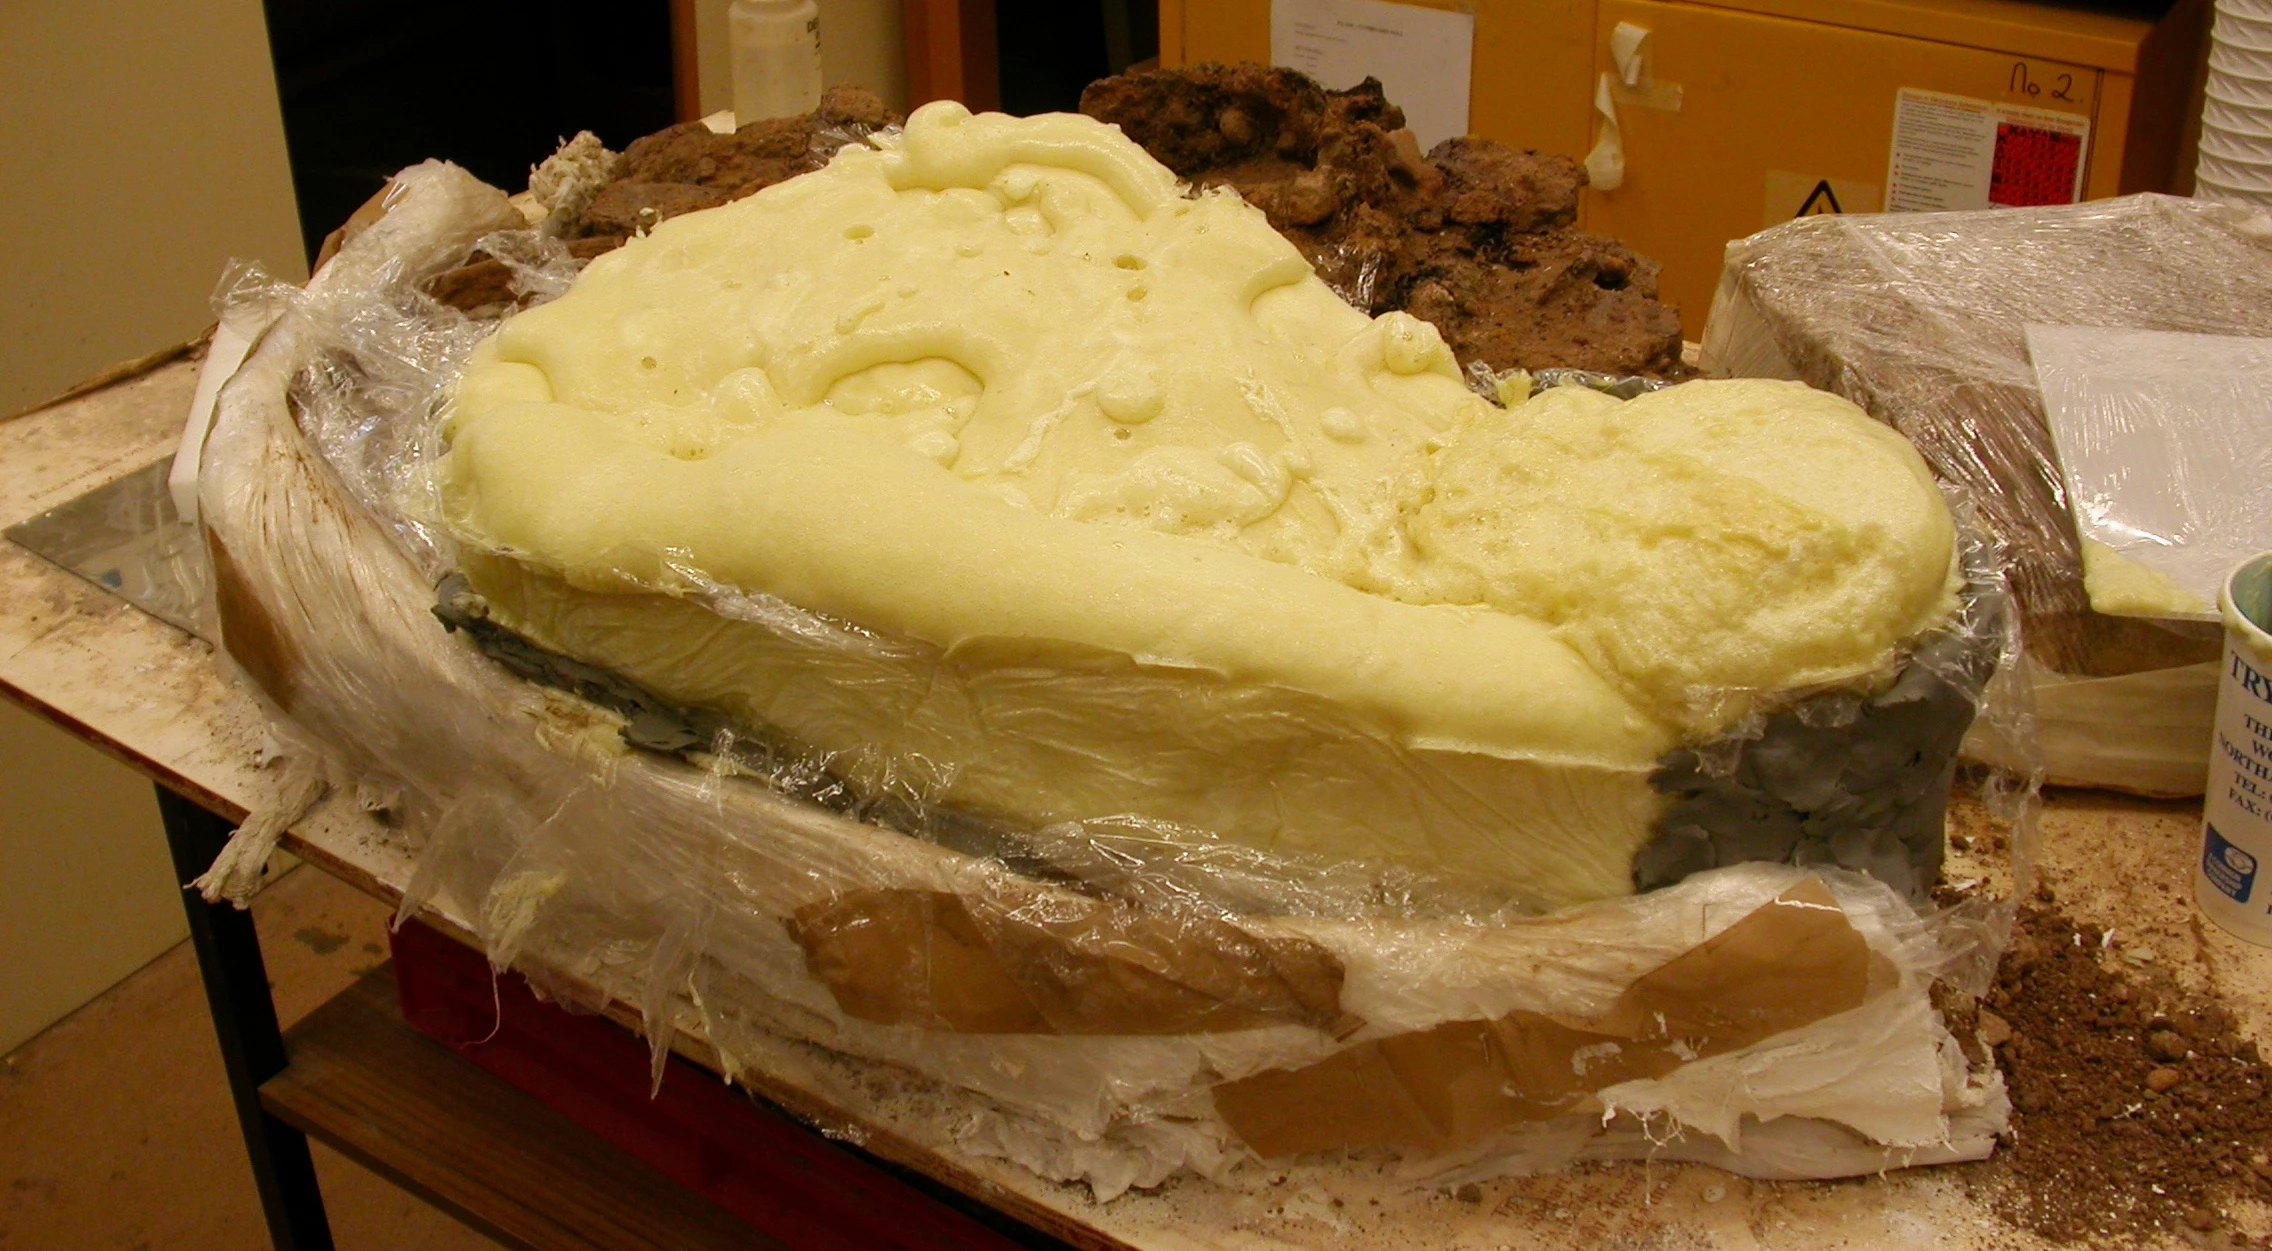
I then wrapped features in Clingfilm, to act as a barrier layer between the archaeology and the rigid material I would use hold the block together. For this, I selected polyurethane foam (readers may have come across this whilst completing DIY projects; it is often used as an insulating filler), as it has a very low density, and will not interfere with the attainment of an image of the mineralized iron plate. Polyurethane is prepared by mixing two liquid components together, and could be poured around the covered feature, reaching all nooks and crannies. Walls of plastic card and clay had been built around the feature to enclose the polyurethane.
Once the polyurethane had hardened, I began to pedestal the feature being lifted, before undercutting it. The separated feature could be turned over, and large amounts of extraneous burial deposit removed, which would have otherwise interfered with x-raying the metal artefacts.
I repeated this process until all the features were lifted, and prepared for X-radiography.


