: Learning

How to care for your bulbs after flowering

Penny Dacey, 28 April 2023

Hi Bulb Buddies, 

Many of you may be wondering what to do with your plants now that they have flowered. You don't need to trim your plant or re-plant your bulb until at least seven weeks after it has flowered. Leave your plants outside in the sunshine, as this allows the bulb to continue storing energy for the following year. 

Once your bulb has flowered you may wish to take it home, plant it in your school or even re-use your pot to grow something else. Read through the instructions below to decide how you would like to look after your bulb.

Keep your bulb in your pot

• Trim back the leaves. 

• Store your pot outside and out of the way until the following spring, when your flowers will start to grow again! Make sure your soil doesn’t dry out over the summer by watering when required.

Empty your pot

• Trim back the leaves. 

• Empty your pot onto some newspaper and look for your bulbs. 

• Shake them to remove any excess soil.

• Inspect your bulbs, only keep the ones that are look healthy and are of a good size. Discard those that are soft or rotten. Every few years bulbs double. When they double two bulbs will be joined together. If this is the case, pull them away from one another very carefully. When they are doubling, they make fewer flowers because they are putting their energy into making more bulbs. By separating them you should get more flowers. 

Plant your bulbs in your garden or school

• Follow the instructions on how to empty your pot.

• Find an area to plant the bulbs, choose a sunny or lightly shaded position. 

• Dig a hole for each bulb that is twice as deep as the height of your bulb and make sure the shoot is pointing upwards and the roots downwards.

• Plant each bulb two or three bulb widths apart.

• Your bulbs should now flower year after year. Inspect the bulbs and divide any doubles every three years to increase flowering. 

• You could now re-use your pot to plant a summer herb or flower. You may receive some seeds for taking part in the investigation that could be planted in your pots. 

Dry out your bulbs and store them until the following autumn

• If you don’t have a garden and you want to use your plant pot to grow something else you may wish to dry out your bulbs and store them over the summer.

• Follow the instructions on how to empty your pot.

• Lay bulbs on a tray or newspaper to dry for 1 week. Place in a labelled paper bag and store in a cool place until they are ready to plant again in November.

There are a number of options to choose from here. Hopefully you will be able to enjoy your plants again next Spring.

Professor Plant

Our Plants Are Flowering

Penny Dacey, 29 March 2023

Spring has arrived Bulb Buddies,

I’m sure we’ve all noticed signs of spring, including crocus and daffodil plants in full bloom! Have you ever wondered why these plants flower, and how to tell when they have flowered? Let's explore this together. 

Daffodils and crocuses are both bulb plants, which means that they grow from bulbs that are planted in the ground. These bulbs store energy for the plant to use when it's ready to grow. The bulbs stay dormant through most of the winter and begin to grow as the weather warms, which is when their shoots first emerge from the soil. Shoots appear first, so that the leaves can produce food for the plant through photosynthesis, where energy from sunlight is used to turn carbon dioxide and water into sugar and oxygen. The plants use the sugar as food, to provide energy to continue growing and to replenish their bulb ready for the following winter. As the plants continue to grow, they produce leaves, stems, and flowers.

You can tell when these plants have flowered by looking for the blossoms on the stem.  Daffodils usually have one yellow or white trumpet-shaped flower on a long stem, while crocuses have smaller, cup-shaped flowers that come in a variety of colours like purple, white, and yellow. These bright, colourful flowers attract pollinating insects like bees and butterflies. Pollen is sticky, so it attaches to pollinating insects and is taken by them to different flowers. Pollination happens when pollen from the male part of a flower (the stamen) is transferred to the female part of a flower (the pistil). Once this happens, the flower can produce seeds.

After the flowers have bloomed and the seeds have been produced, the plants start to die back. Our little bulbs will then go dormant again, until the next growing season.

Some schools have shared that their plants have flowered. You can see which schools have sent in flowering records by looking at the project map and the flower graphs. Remember, you can also look at results from previous years to compare. Why not have a look to see if your school has taken part in the project before? 

I’ve attached the Keeping Flower Records resource to the right of the page. This looks at how to take height measurements for your plants and how to tell when the flower has fully opened. It also lists some resources on the website, like the activity sheets for naming parts of plants. 

We ask that you note the date that your plant first flowers and the height of your plant on that date to your flowering chart. You can then upload this information to the website when next entering your weather data. Remember, we ask for measurements in mm. If you accidentally record your height in cm it will show on the website in mm. This means that a 15cm daffodil becomes a 15mm (1.5cm) daffodil! 

I’ve attached some botanical illustrations we’ve been sent by schools in previous years. Why not make a study of your plants and draw what you see? It can be interesting to make regular drawings of your plants, to see how they change over time. 

We’ve watched our plants from bulb to flower. I have seen from the comments that many of you have been fascinated by the changes you’ve seen. I’ve attached an activity sheet for creating an Origami booklet that explores the life of a bulb. There is a version that you can colour in yourself and a version that is already in colour. 

We are in the last week of weather data collection. We ask that schools upload all of their weather data to the website by 31 March. If your plants have flowered, please upload your flowering data by 31 March. If your plants have not yet flowered, please let us know in the comments. There is further guidance around this in the attached ‘Keeping Flower Records’ resource. 

Please share photos with us by email or Twitter, it’s always lovely to see the plants in bloom. Please share your thoughts on the project in the comments section when uploading your data, you could also let us know what you think the mystery bulbs were this year!

Keep up the good work Bulb Buddies,

Professor Plant & Baby Bulb
March is for mulching

Luciana Skidmore, 16 March 2023

If you are visiting St. Fagans this month you will notice an army of gardeners and volunteers marching around the gardens with wheelbarrows full of organic matter to condition the soil of our beautiful gardens. As winter comes to an end, spring arrives with a promise of growth. This is a crucial moment in the gardening calendar to prepare for the warmer months ahead. 

Because of the over-emittance of greenhouse gases, the Earth’s surface temperature is increasing rapidly. We are noticing summer months that are hotter and drier than ever, only last year we witnessed temperatures around 40°C in some areas of the UK. The excessive heat and prolonged drought have devastating effects on our local flora and fauna. 

One of the most important tasks for this month is to mulch the soil by adding a layer of organic matter to the soil surface. Mulching brings numerous benefits to plants including moisture retention in periods of drought, weed suppression, improvement of soil structure and fertility, reducing the need for artificial fertilisers, prevention of soil erosion, and encouragement of beneficial organisms such as earthworms, soil bacteria and fungi. Additionally, it attracts wildlife to our gardens, one of my favourite memories is of being followed by Robins as we mulch the garden in spring. They patiently wait for a feast of earthworms, while gifting us with their beautiful bird song announcing the arrival of spring. 

There are many different types of mulching materials and each with their own benefits and uses. Most of our gardens are mulched with well-rotted farmyard manure sourced from Llwyn-yr-eos farm in St. Fagans and from a local farmer. The manure is gradually incorporated into the soil by the activity of earthworms and other microorganisms, which improves the soil structure and supplies the plants with nutrients. This nitrogen rich material is ideal to be used on herbaceous borders, vegetable beds, roses and newly planted trees and shrubs.

However not all plants like nutrient rich mulches, plants that are adapted to growing in hot and dry conditions often do not cope well with excessive moisture and high fertility. For example, in the Herb Garden where we have Mediterranean plants such as lavender, rosemary, sage and thyme we have opted for mulching the beds with gravel. This is an inorganic material that does not break down; therefore it does not release nutrients to the soil. In addition, gravel is great at promoting good drainage, suppressing weeds, and adding aesthetic value to the garden.  

This year we are trying new methods of mulching as a sustainable way to utilise the maximum of our local resources. We have started using raw wool provided by the Llwyn-yr-Eos farm to mulch the vines in the greenhouse. This will help with water conservation and prevention of weeds. Besides the wool fleece degrades slowly releasing nutrients into the soil and feeding the vines. Another advantage is that wool can help retain heat during colder months, keeping the root of the vines warm in winter. 

In March we cut back the ornamental grasses and perennials of the Dutch garden and a large amount of material usually ends up in the compost heap. This year we decided to skip this process and instead we added the dried grass clippings directly to the surface of the pumpkin patch. We have sprinkled a fine layer of manure on top to weigh down the grasses and prevent them from blowing in the wind. This will also aid the process of decomposition by introducing nitrogen to this carbon rich material.  While the farmers make hay for a rainy day, the gardeners mulch with hay for a hotter day.

When choosing mulches or growing mediums for your garden, prefer materials from sustainable and local sources in order reduce the carbon footprint from transportation. It is also important to avoid peat-based composts at all costs. The extraction of peat has a negative impact in the environment, it destroys the natural habitat of many species that live in peatlands, besides it releases tons of carbon dioxide into the atmosphere contributing to the greenhouse effect. 
For the home gardener the most sustainable and cost-effective option is to mulch using homemade compost or leaf mould. Why not try making your own compost using kitchen and garden waste? You will be surprised at the benefits you can reap from your compost heap. 


How to measure snow

Penny Dacey, 8 March 2023

Hello Bulb Buddies,

Thank you for the comments and observations you sent in with last week’s weather readings. I’m expecting that some of Friday’s weather comments will mention snow, as many areas across the UK will have woken up to snow and ice this morning. I thought this might be a good time to look at how Meteorologists (weather scientists) measure snow. 

It is a lot trickier to measure the amount of snow that falls than it is to measure the amount of rain. This is because snow misbehaves! Snow is often blown by the wind into drifts, which causes some areas of deep snow and less snow in the areas around it. Because the snow fall is uneven the measurements from these places will be wrong. This is why we have to measure snow on flat surfaces, in the open and away from areas where drifts happen. Snow also likes to play games with Meteorologists who want to measure it, it melts into water and re-freezes into ice. This means that the snow measured on the ground isn’t always the same as the amount of snow that has fallen. Another problem is that new snow settles on old snow, so it is difficult to tell how much snow has fallen in one day from the snow that fell the day before.

Meteorologists have to take all these tricks the snow plays, and work around them to discover how much snow has fallen. They look at snow fall (the amount of snow that falls in one day) and snow depth (how deep the total snow level is, old snow and new snow). One way that Meteorologists measure snow fall is to use a piece of ply wood. They place the wood in an open location away from areas where snow drifts occur, and measure the snow on the board at 6hr intervals, clearing the snow from the board each time they measure it. This means they are only measuring the snow from that day, which will tell them how much snow has fallen on that day in that area.

Snow fall can also be measured in its melted state, as water. This means that you can use your rain gauge to measure the water equivalent of snow fall. If you only get a bit of snow then it should melt in your rain gauge anyway. But if you get a lot of snow, take your rain gauge inside to the warm and wait for the snow to melt into water. Then measure the water in the same way as you have done each week and report this as rain fall in your weather logs. 

If you have snow and enough time for an extra experiment – why not have a go at measuring snow depth? To do this all you need is a ruler (also known as a snow stick!). Place the snow stick into the snow until it touches the surface underneath and read the depth of the snow. Take these measurements from flat surfaces (benches work well) in open areas and away from snow drifts. You need to take at least three separate measurements to work out the average snow depth in your area. You work out the average measurement by adding the different readings together and dividing them by the number of measurements. So, if I measured the snow depth of three surfaces at 7cm, 9cm and 6cm, I would add these together (7+9+6 =22) and divide that by three, because there are three readings (22÷3=7.33). So, 7.33cm would be my average reading for snow depth on that date. 

Weather stations such as the MET Office have come up with new ways of measuring snow depth, using new technologies. The picture on the right shows one of the MET Offices snow stations. These use laser sensors to measure how deep the snow is on the flat surface placed below it. This means that Meteorologists can collect readings from all over the country at the push of a button, which is far more reliable and a lot easier than sending people out into the cold with snow sticks! The map on the right shows how many snow stations the MET office has and where these are, is there one close to you? 

If you have snow and measure the snow fall with your rain gauge or the snow depth with a snow stick, then please tell me in the ‘comments’ section when you are logging your weekly records. I would be very interested to know what the snow depth is compared to the snow fall collected in your rain gauge.

Keep up the good work Bulb Buddies, 

Professor Plant
The Changing Seasons

Penny Dacey, 3 March 2023

Hello Bulb Buddies,

Thank you to all schools who have shared their weather data so far. Remember to contact me if you need any help with this. All schools that enter data to the website will receive prizes at the end of the project, including super scientist pencils and certificates!

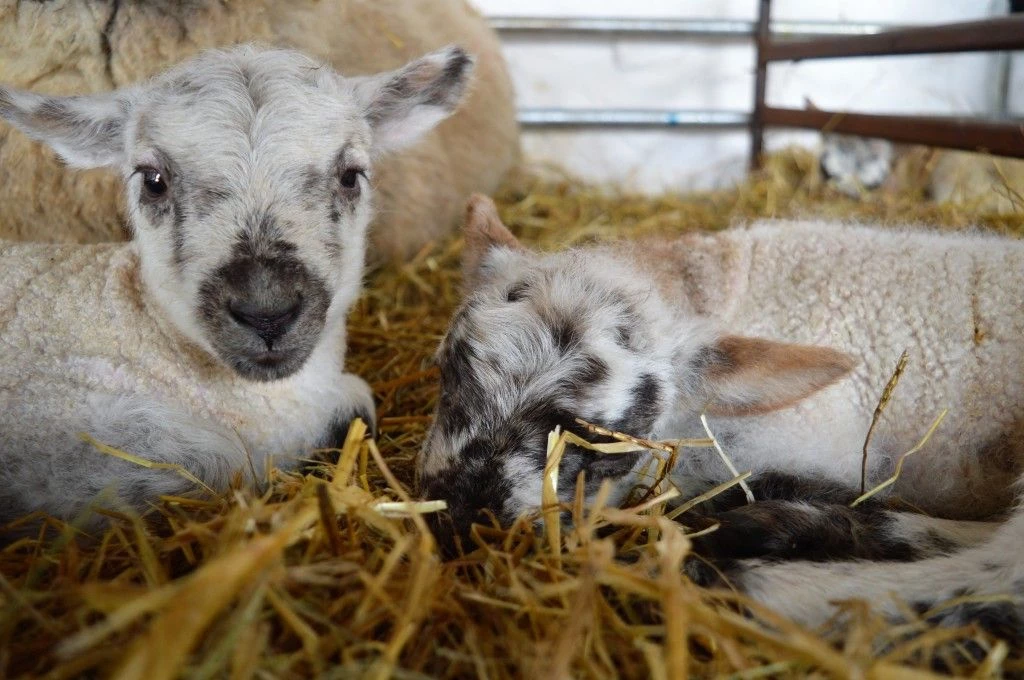
As spring approaches, I thought we could look at the changing seasons. There are four seasons in the year. Spring, summer, autumn and winter. In the UK, spring begins in March. When in March depends on which definition you use. The Meteorological definition sees Spring start on 1 March and the Astronomical definition sees it start on 20 March (the Spring Equinox). Spring is when most flowers bloom, the weather gets steadily warmer, and many animals have their young. Lambs in the fields are a good sign that spring has arrived, why not follow the Lamb Cam at St Fagans National Museum of History to see how many lambs are born there!

The summer comes in full force from June to September, and this is when we have the warmest weather and the longest daylight hours. Luckily for you, it’s also when you get your longest school holidays!

Autumn takes hold from late September, and this is when the days become shorter and the weather begins to get colder. This is when the leaves change colour from greens to oranges, reds and browns and fall from the trees. And, when animals like squirrels hoard food for the long winter ahead. Winter arrives again in December, and stays until mid-March.

Do you know why we get seasons? What causes the weather to change so dramatically throughout the year? Well, it’s because the Earth is turning around the Sun at an angle. The picture to the right shows the earth in relation to the sun. The earth turns (rotates) on its axis (imagine a line joining the North and South poles) as it moves around (orbits) the Sun.

It takes the Earth 365 days to travel once around the sun. The length of a planets year is the time it takes for it to complete one orbit of its star. So a year on Earth is measured as the passing of 365 days. 

The picture to the right shows the Earth’s rotation around the Sun. The axis is shown by the white line at the North and South poles. You can see that the axis (white line) is at a different angle to the Earth’s orbit (shown by the white arrows). This means that each day we are at a slightly different angle to the Sun than we were the day before. This is what causes a difference in the number of daylight hours we get. Fewer daylight hours (winter) means less light and heat, making this time of the year colder. More daylight hours (summer) means more light and heat, which makes it warmer!

Many of you have noticed that temperature increases throughout the morning, and decreases in the late afternoon. This is because the heat from the sun gradually warms our surroundings throughout the day. Materials and living things absorb this energy, and become warmer themselves, heating the air around them. The sun is at its highest point around noon, so this is when the earth gets the most light and heat energy from the sun. In the afternoon the heat and light from the sun gradually decreases. However, the materials and living things around you will continue to radiate heat, gradually cooling throughout the afternoon and evening. This is why the temperature is often higher between 2-3pm than it is at midday. This is also why temperatures are lower in winter than they are in summer, because the days are shorter and as such our surroundings receive less heat and light energy from the sun.  

The UK is in what is known as the ‘North hemisphere’, this means we are closer to the North Pole than the South Pole. Notice that in the picture the North pole (the white line pointing up) is leaning towards the Sun in summer and away from the sun in winter. This angle is what causes the change in daylight hours as the Earth orbits the sun over the course of the year.

Other countries experience the changes in daylight hours at different times of the year. In Australia it is summer in December! And in Iceland they have continuous sunlight for days in a row in the summer and darkness for as long in the winter! Imagine having sunlight at midnight!

Keep up the good work Bulb Buddies,

Professor Plant